 The Interoperability Standard
for Industrial Automation
| Welcome | OPC Foundation Online | Certification | Technology | News | https://gitHub.com/OPCFoundation |
Unified Architecture Technology Sample Applications
 The Interoperability Standard
for Industrial Automation
| Welcome | OPC Foundation Online | Certification | Technology | News | https://gitHub.com/OPCFoundation |
Unified Architecture Technology Sample Applications
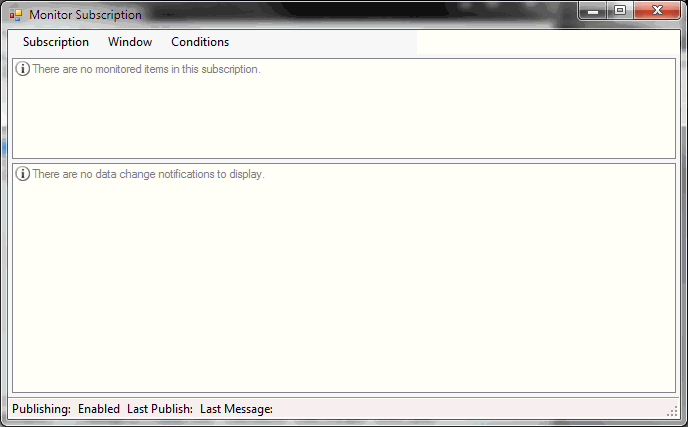
The Client allows you to configure 1...n subscriptions. Each subscription will open in its own "Monitor Subscription" window as shown and described here.
There are 2 ways to create a new subscription, both are done via the main application window:
Locate a node in the address-space, right-click on it, and then choose "New" from the "Subscribe" menu.
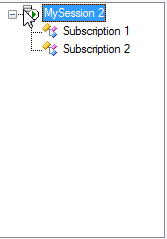
Right-click on the session (left side of the main window) and choose "New" from the "Subscribe" menu.
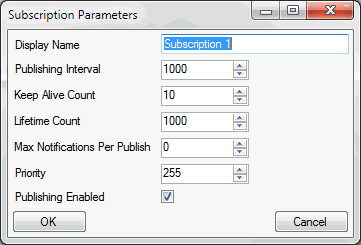
The following dialog will open:
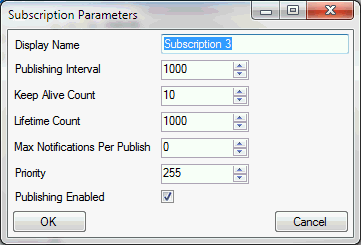
The above fields are described in UA Specifications Part 4 - Services.
When a subscription is created, the "Monitor Subscription" dialog will automatically open. You can also open the window by locating the subscription in the main application window by right-clickit and choosing "Monitor" from the "Subscription" menu.
The Monitor Subscription dialog:
|
Menus |
|
|
Node Display (top) |
|
|
Data Changes (bottom) |
|
Choose "Edit" from the "Subscription" menu to modify the subscription parameters.
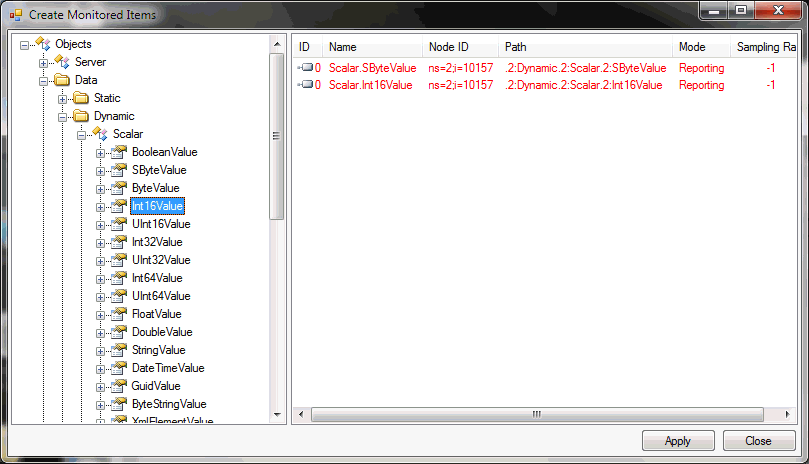
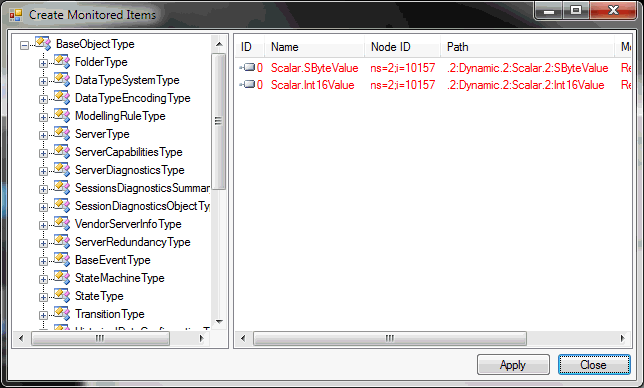
Choose "Create Monitored Items" from the "Subscription" menu to add more items to the subscription.
